

Beauty:
Favorite Easy Summer Makeup Products and Step-by-Step
This post contains affiliate links, I am only recommending products I use, but if you purchase anything recommended I do receive a small commission. I hope you like this stuff as much as I do!

My Glow-y Summer Skincare Essentials, tips from a makeup artist.
Any of my clients will tell you that I am obsessed with skin! While full coverage foundations and contouring is fun and looks great in staged photos, in real life my brides and ladies want their skin to be (or at least APPEAR to be) FLAWLESS! Isn’t that the goal? To look as if you are just naturally radiant, glow-y and perfect?
It’s true that you can get that flawless “no makeup” look by using a bunch of makeup, but that just isn’t my approach or aesthetic. Don’t get me wrong, I love a full face, just like any woman- but for every day wear, I just can’t be bothered to dedicate that much time and product to appear perfectly contoured and honestly… right now we are in the middle of a pandemic and it’s Summer! I would melt and that’s never pretty! Plus mask-ne (acne from wearing masks) is reduced with fewer products to get into your pores and clog them up!
here is my step-by-step easy routine and products recommendations for an easy summer Makeup look.


My pretty client!
My favorite Summer Products List:
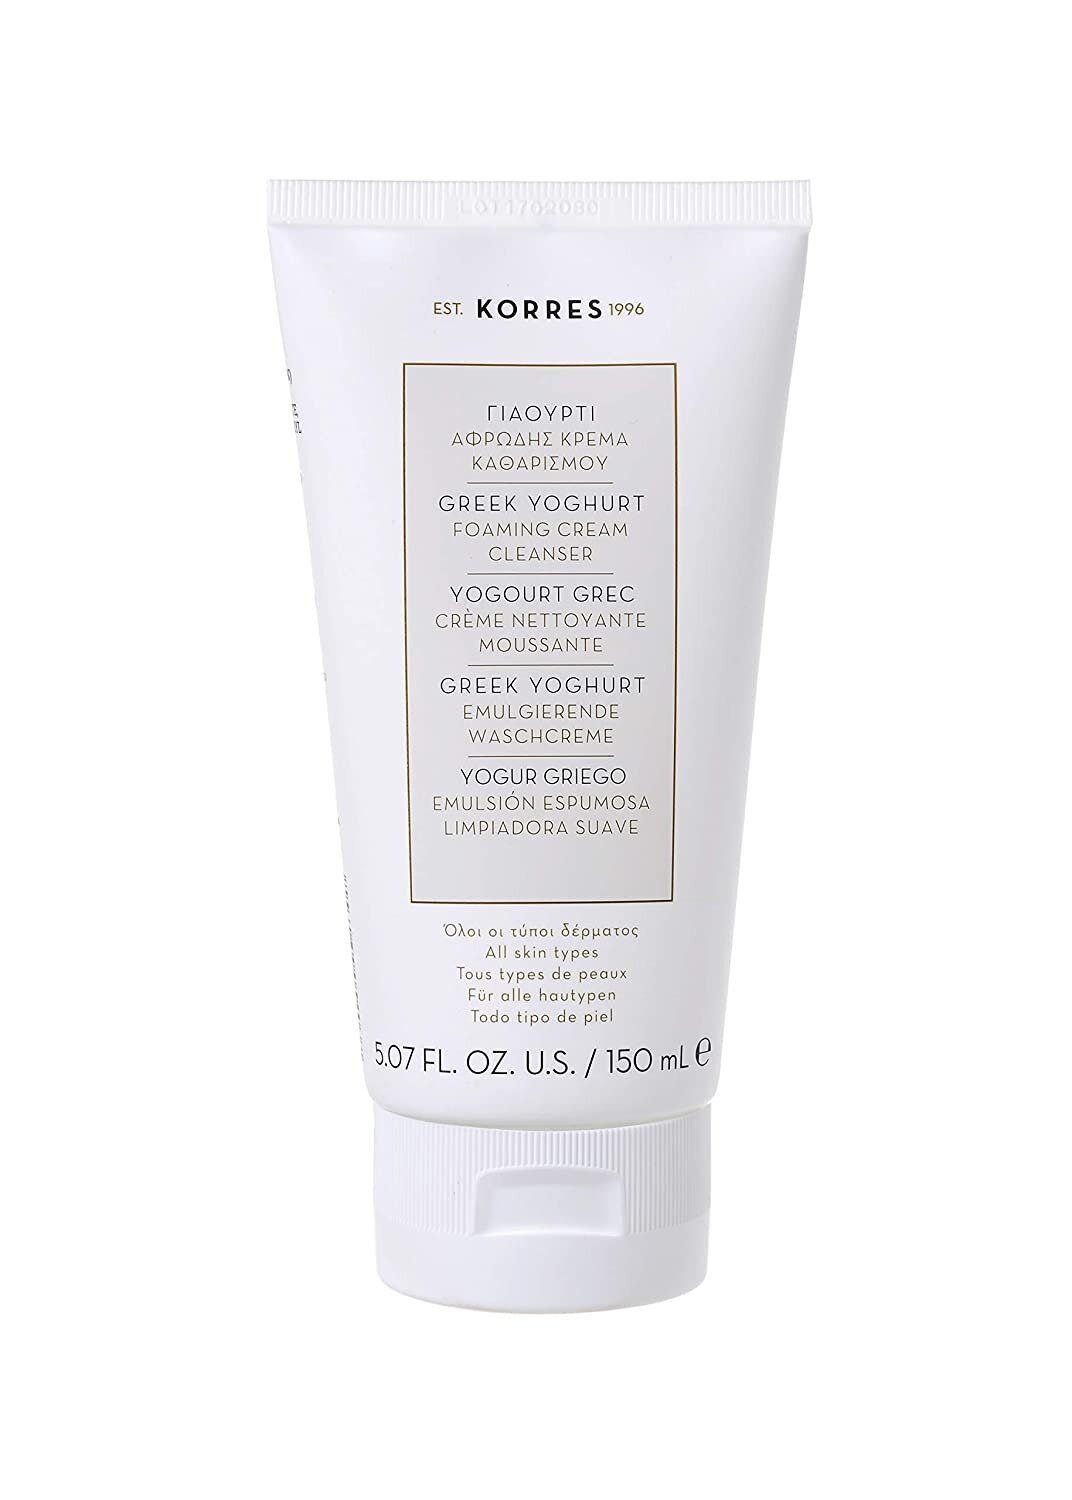
KORRES Greek Yoghurt Foaming Cream Cleanser, 5.7 fl. oz.
SexAPeel Instant Exfoliation Spray & Water Balm Skin Prep By Sonia Roselli
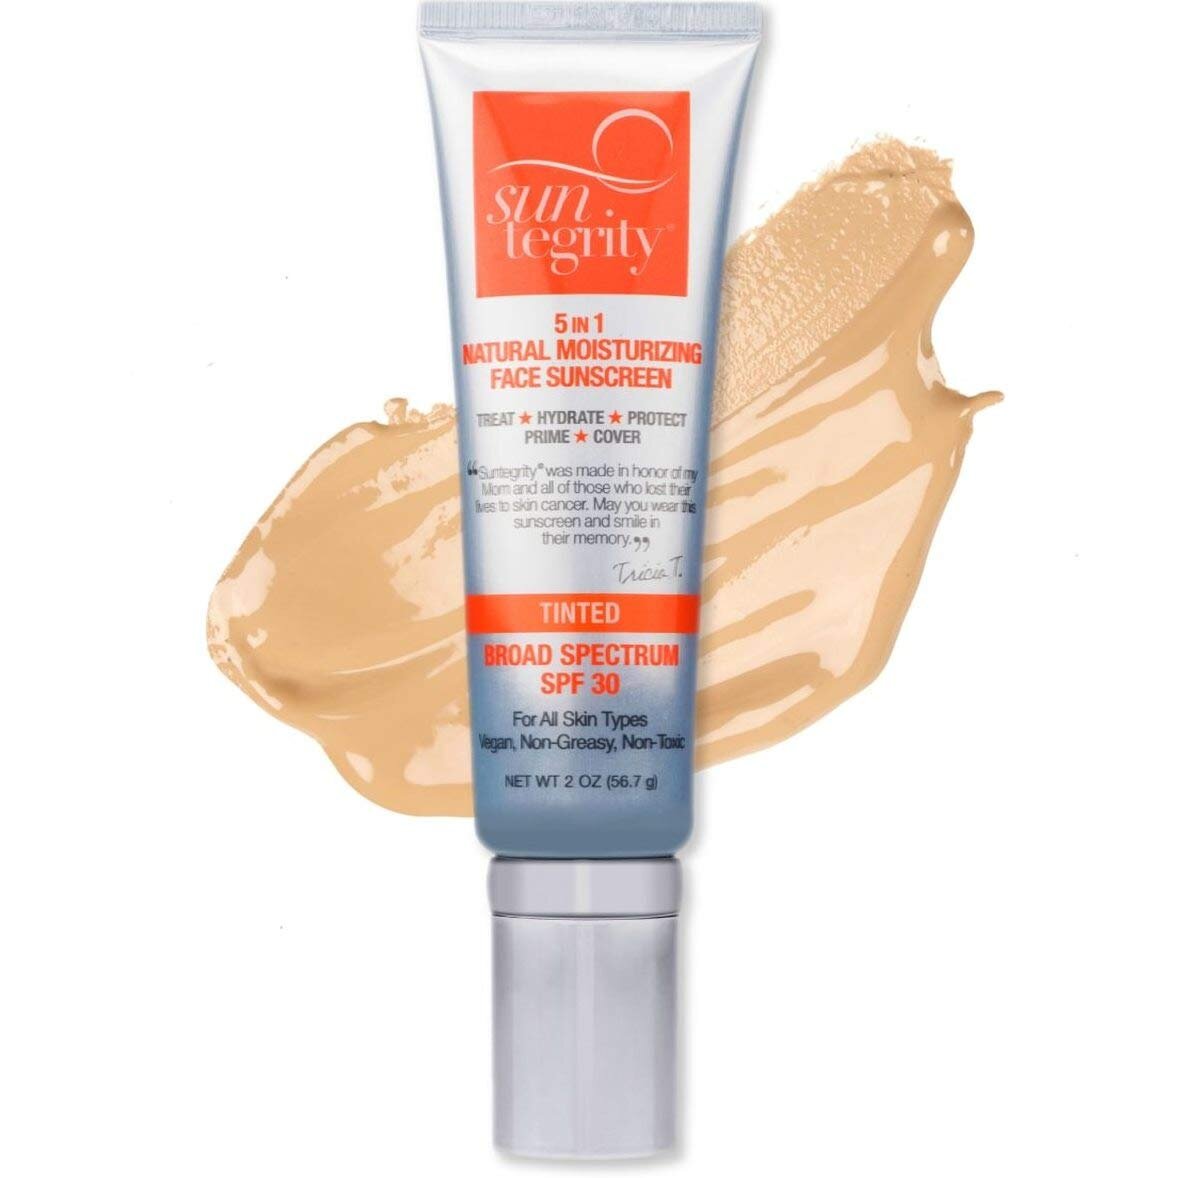
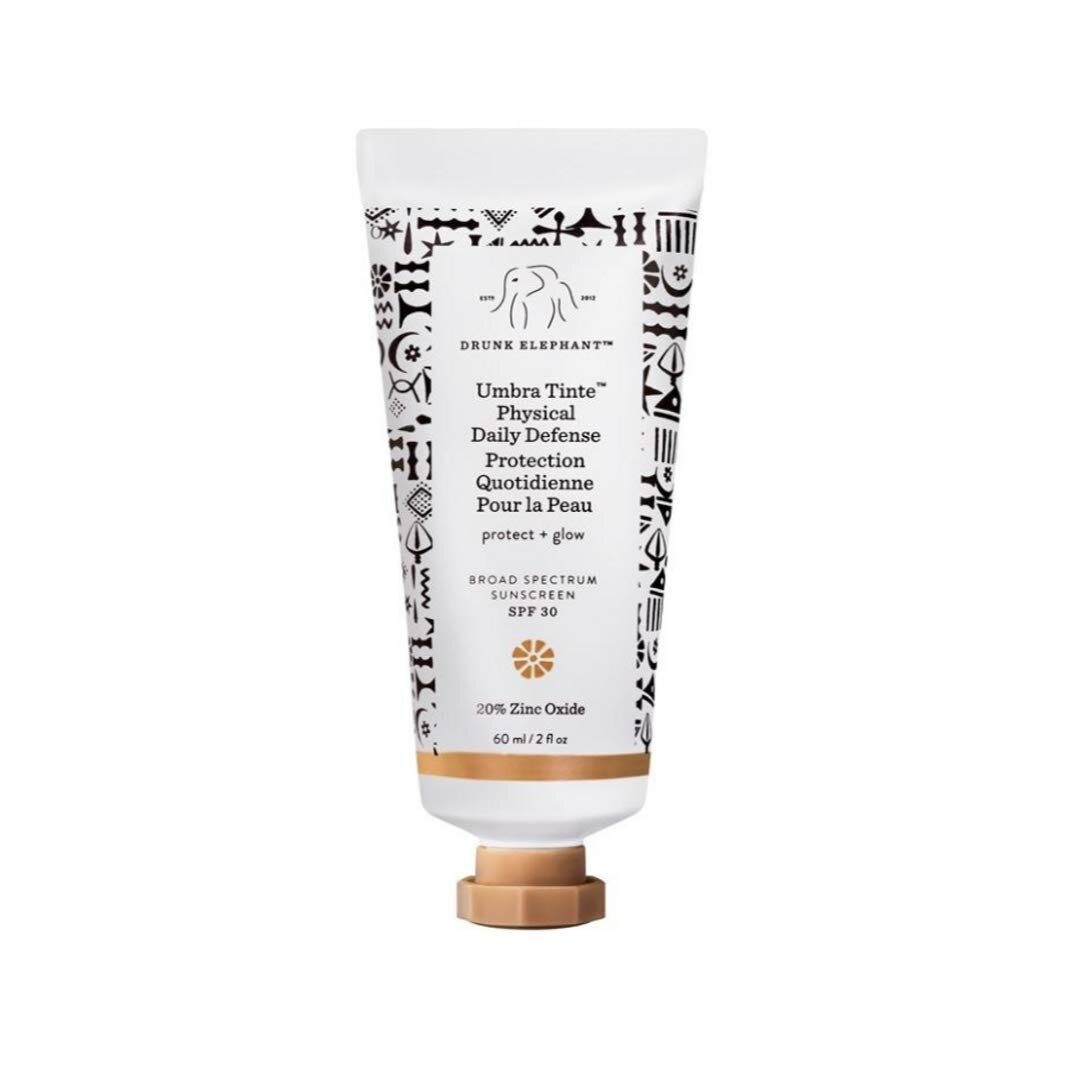
OR for a little more coverage Suntegrity Tinted 5 in 1 Mineral Sunscreen for Face (SPF 30-2 oz) | Natural BB Cream Moisturizer with Physical UVA/UVB Broad Spectrum Protection | Safe for Sensitive Skin (Golden Light)
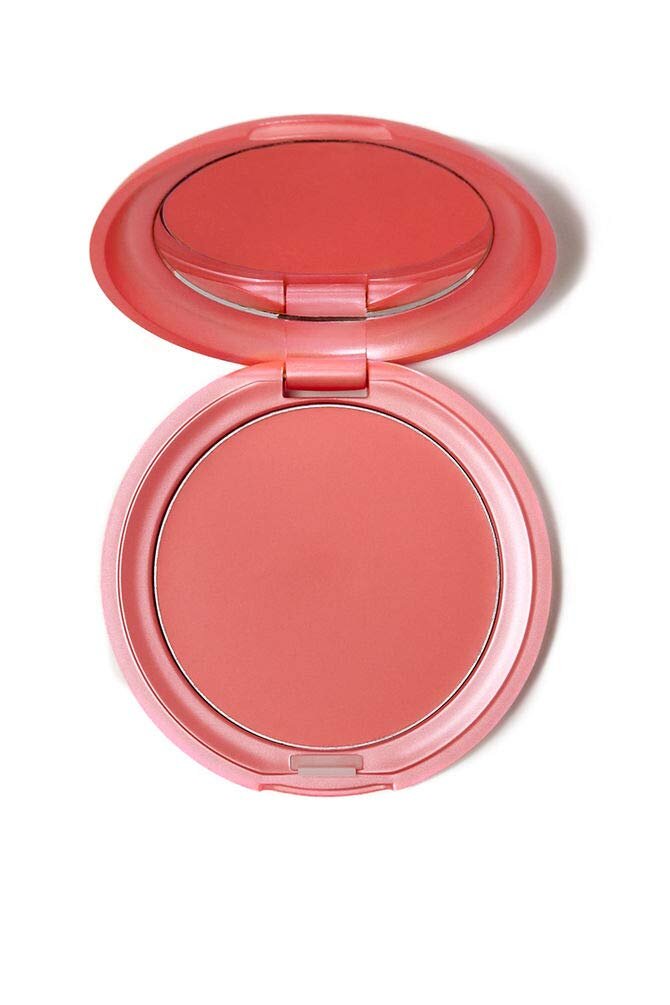
stila Convertible Color, Dual Lip and Cheek Cream, Petunia (Coral Peach Cream), 0.15 oz
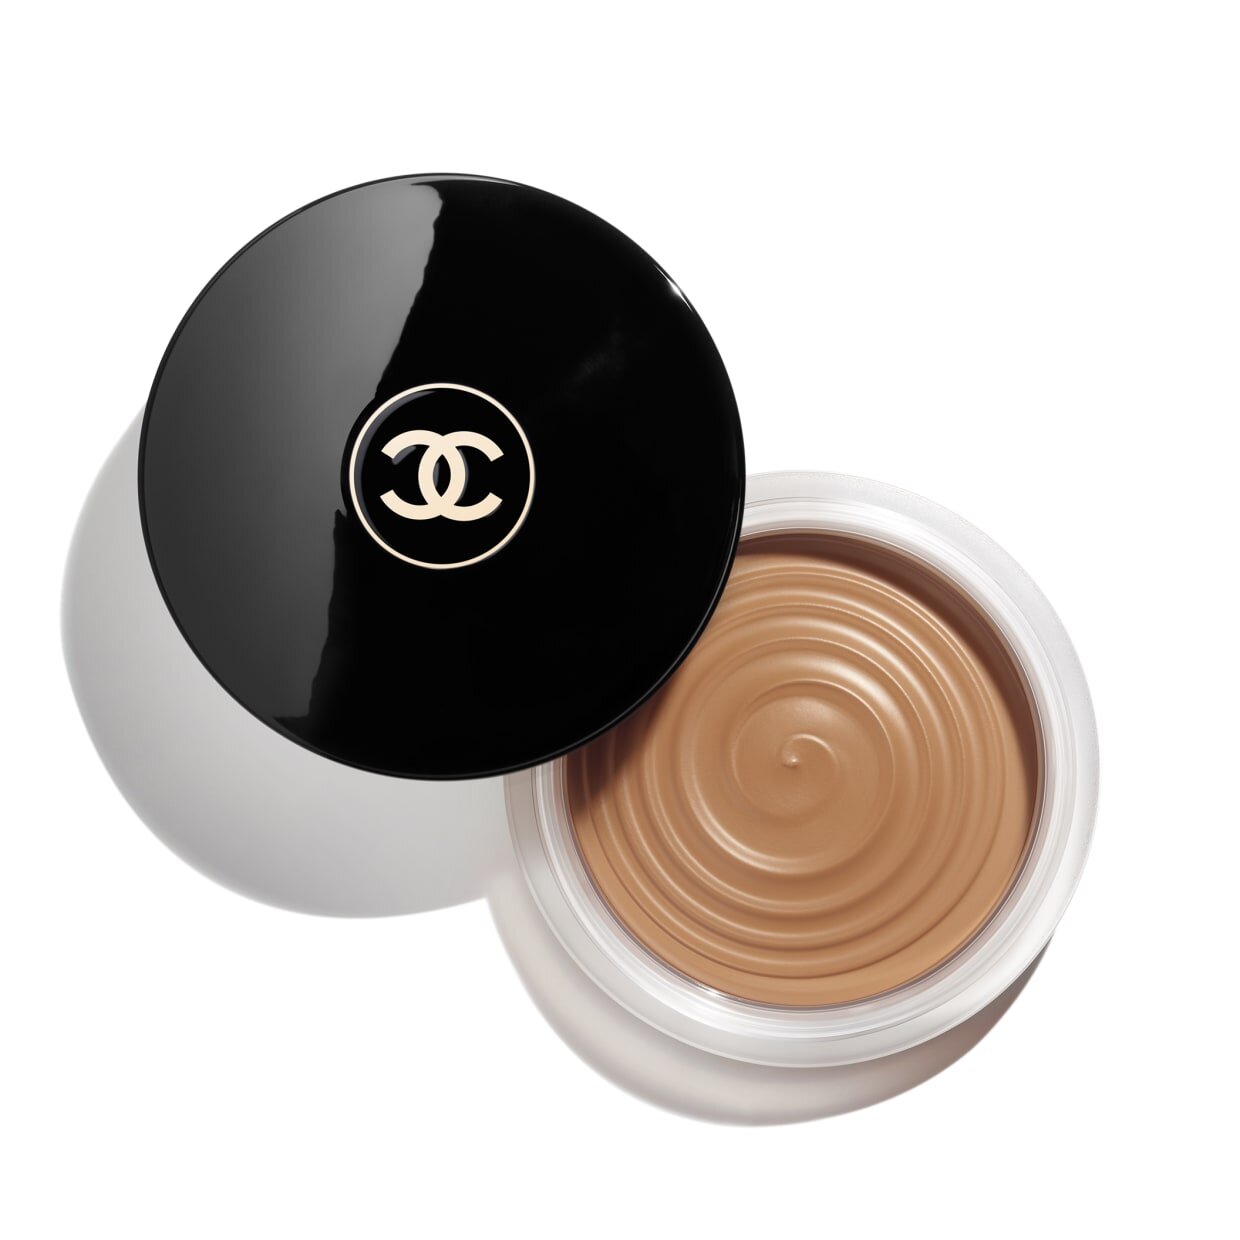
Chanel Bronzer
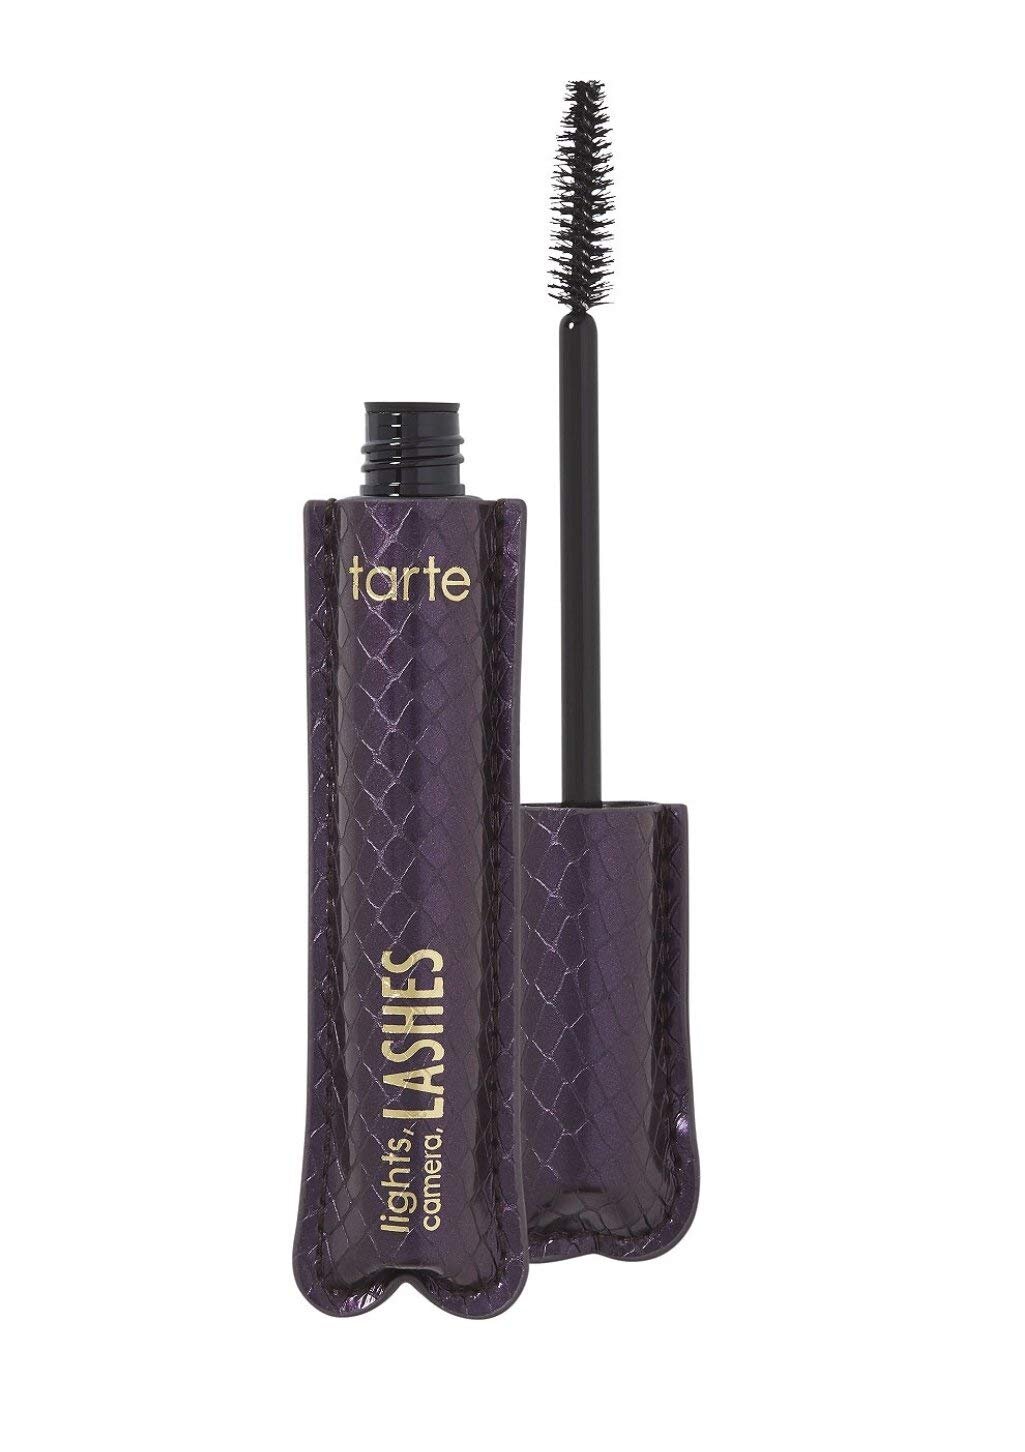
Lights, Camera, Splashes Mascara
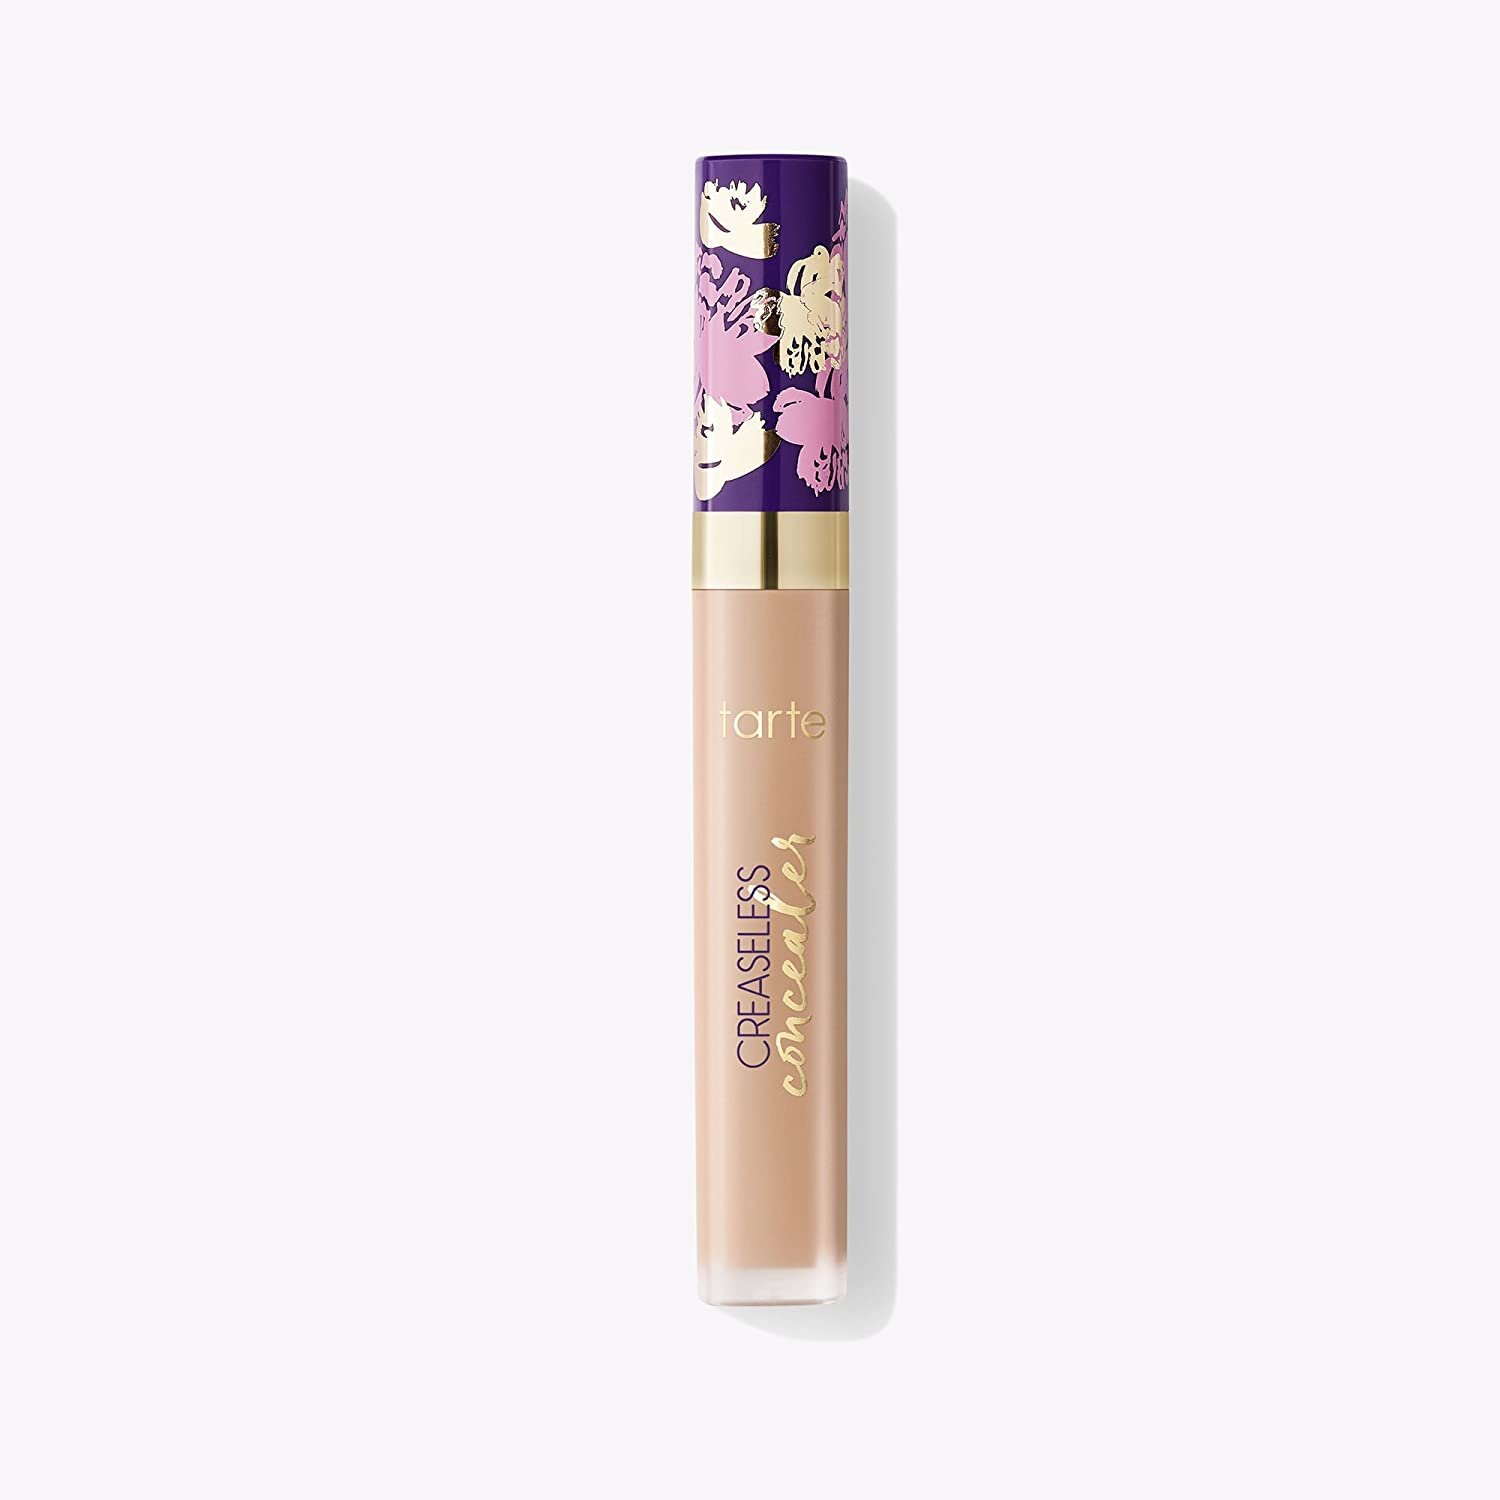
Tarte Creaseless Under Eye Concealer
I know all of the those products are a little overwhelming, but most of them are steps that should be done for your skin regularly regardless of if you are putting on makeup or not. I’m looking at you cleansers and moisturizers!
Step 1:
Cleanse Your Skin Without Drying it out
Clean yo’ face! Use the Korres cream cleanser or another mild cleanser to thoroughly wash your face.
Step 2:
Exfoliate! Exfoliate! Exfoliate!
Exfoliate! I cannot say this enough! Exfoliating allows you to slough off the dead skin, opening up your pores so they can breathe, and allow the dirt and grime to be removed. Do it! The SexAPeel spray and Water Balm are also available together for a $12.50 discount! This spray is gentle on problem skin and can be used all over your body! I have some KP (keratosis pilaris on my arms and legs- “chicken skin” yuck!) and this stuff helps me manage it. I spray it on and rub it in right before I shower. I recommend standing over a towel when rubbing it in, because it will literally ball up the dead skin and flake off. My husband also likes it to use on his crusty elbows and ankles ;-)
Step 3:
Moisturize and Prep Your Skin
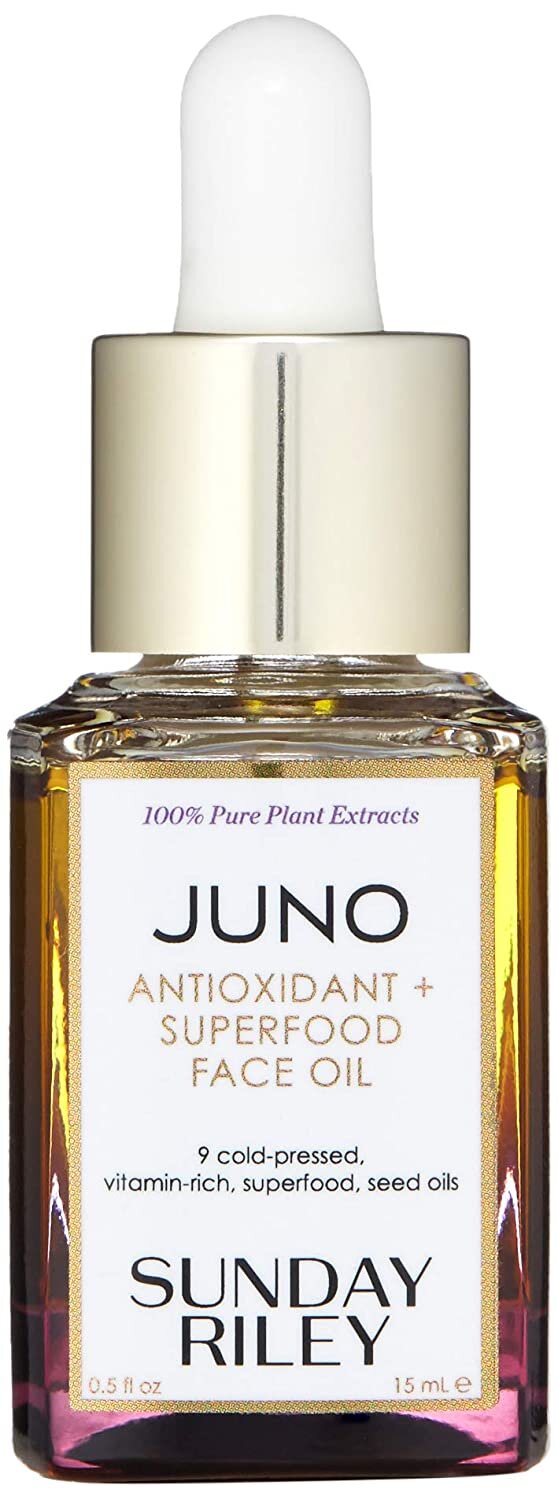
Use some of the SR Waterbalm and pat it into your skin. Allow it a minute or 2 to really soak in. Then follow that with your Juno Oil. Give all that moisture a few minutes to do its work for your skin. Get a drink of water, put your hair up, buy more skincare, get up and stretch.
Step 4:
SPF, but make it Double Duty!
I recommended double duty SPF products in my products list to save time and money. I am really liking the coverage of the Suntegrity right now, but the Drunk Elephant is also a favorite. I have a little redness in my cheeks right now and the Suntegrity has just enough coverage to help counter act that and is a little bit thicker than the Drunk Elephant. Use the Tarte concealer or your favorite long wear concealer to cover blemishes, we aren’t going for perfection, but covering some pimples or red spots is okay!
Step 5:
My Favorite Cream Bronzer
Use the Chanel Bronzer or any other cream bronzer product (I really, really love the Chanel one, it is pricey but you get a ton of product that lasts a really long time!) to blend onto wherever the sun would naturally catch your face. I blend it across the top of my forehead into my hairline. Around the edges of my face, across my cheekbones (the tops of my cheeks, not where you would contour), across my nose, and a little on and under my chin.
Step 6:
Sunkissed Blush
Apply the Stila cream blush, I love my cream products for that glow-y finish, to the apples of your cheeks, blending upward and outward along your cheekbones just before your hairline. the blush color should be more noticeable on the apples of your cheeks and blended out. Use a little on your eyelids blending up toward your brow. You just want a wash of color on your lids, if you get oily lids you can follow the blush with a little powder blush to set the color.
Step 7:
Summer-Proof Lashes
Last step, apply at least 2 coats of mascara. I love and have been using Lights, Camera Splashes for years and it is one of my go to and kit staples. I apply to the tips of my top lashes first just to the ends, then I wiggle the wand through the base of my lashes and run the wand through to the ends. I do that twice to the top and the bottom lashes. If your lower lashes brush your cheeks you can skip the lower lashes if you want.
Step 8:
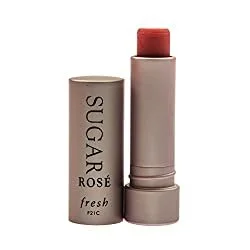
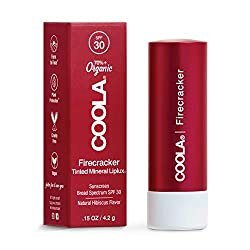
Tinted Lip SPF
Swipe on some tinted lip SPF and that’s it!
Simple easy makeup that once you have the skincare down, should only take you about 10 minutes to do!
What products do you use to do a quick summer makeup?
Thank you for reading!
Love,
Cristin